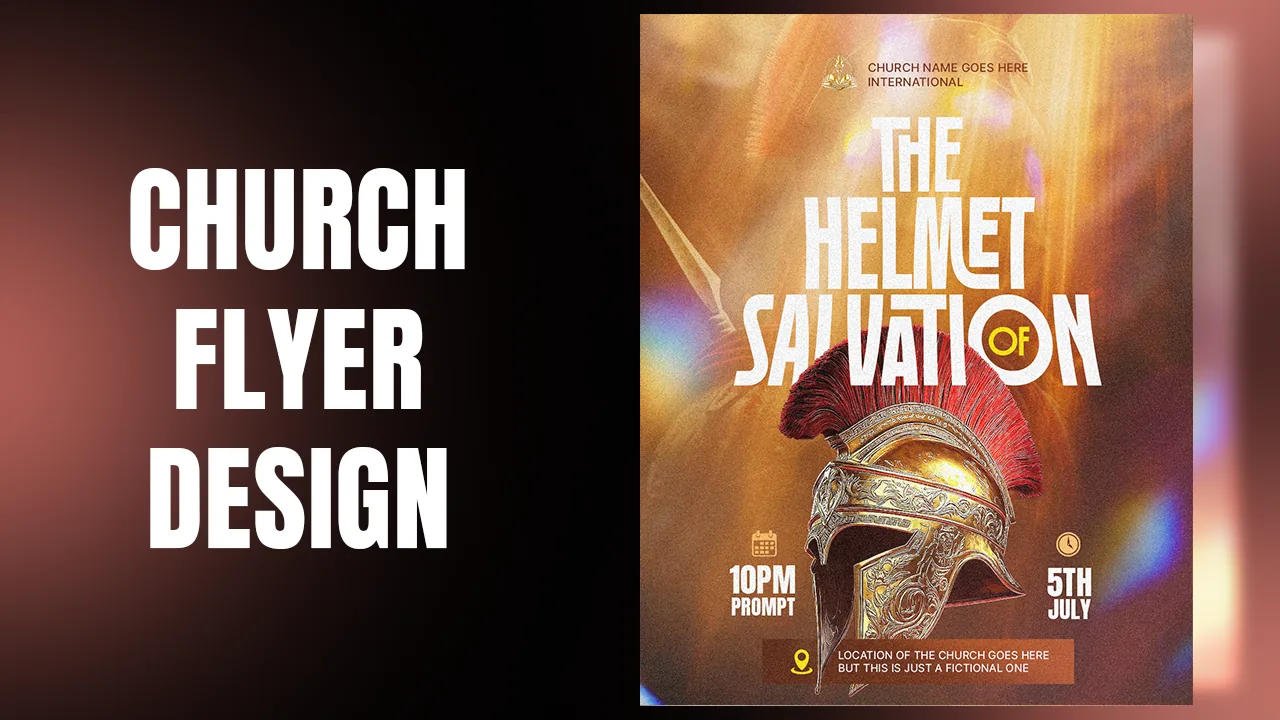
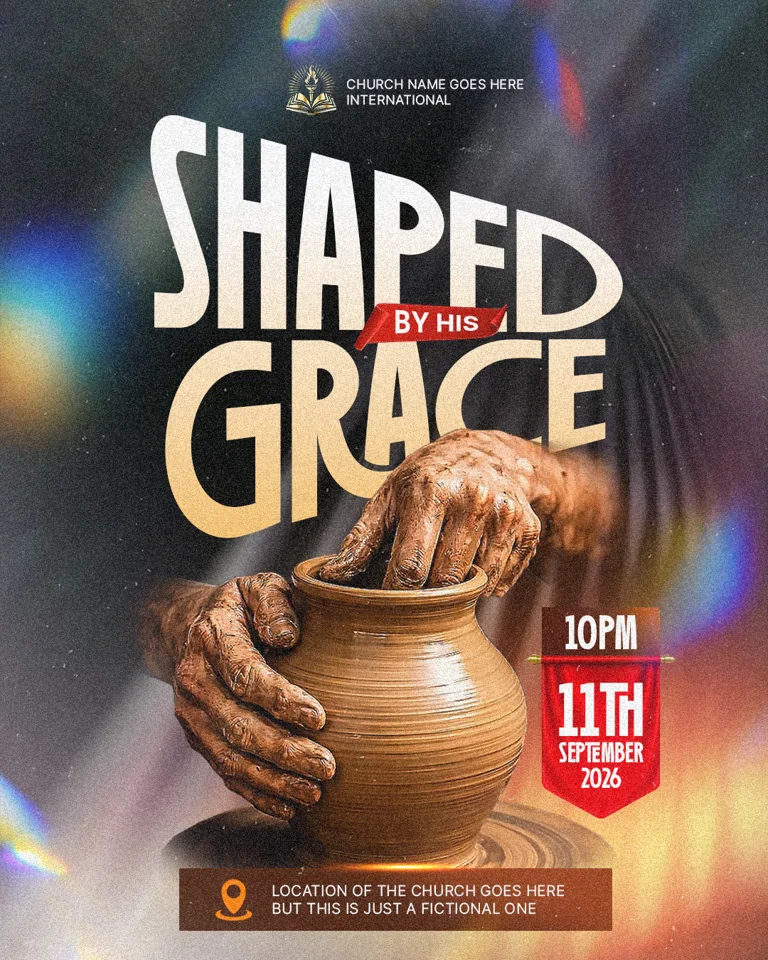
In this tutorial you will design a church flyer, "Shaped by His Grace", in Adobe Photoshop. A potter's hands shape a clay pot on the wheel, a strong picture of God shaping our lives, under a tall, warm title on a soft silver background.
You will learn the quickest way to build a church flyer background from one image, cut out a photo with the Polygonal Lasso tool, style a bold title with a gradient and a warp, and finish with a ribbon, a date banner, a footer bar and noise. Each step links to the exact moment in the video, so press Watch at whenever you want to see it done.
What you will make
What you need
- Adobe Photoshop
- The resource pack: the abstract background image, the potter photo, the red ribbon, the hanging banner and the light leaks
- The Robinco font for the title and Inter for small text
- About 20 minutes
Get the resource pack from our Telegram channel before you start.
Open Photoshop and create a new document: 1080 × 1350 px at 300 pixels per inch. This portrait size fits Instagram, Facebook and WhatsApp status without cropping.

Here is the shortcut for church flyer backgrounds: start from one interesting image. Drag the abstract silver image from the resource folder onto the canvas. It has sharp, blade-like lines, which are too busy behind text.
Go to Filter › Blur › Radial Blur. Set the Amount to 10, the Blur Method to Spin and the Quality to Best, then click OK. The sharp lines turn into soft, swirling light that still has movement.
Tip: Any busy photo can become a background: Radial Blur keeps its colours and movement but removes the distracting detail.
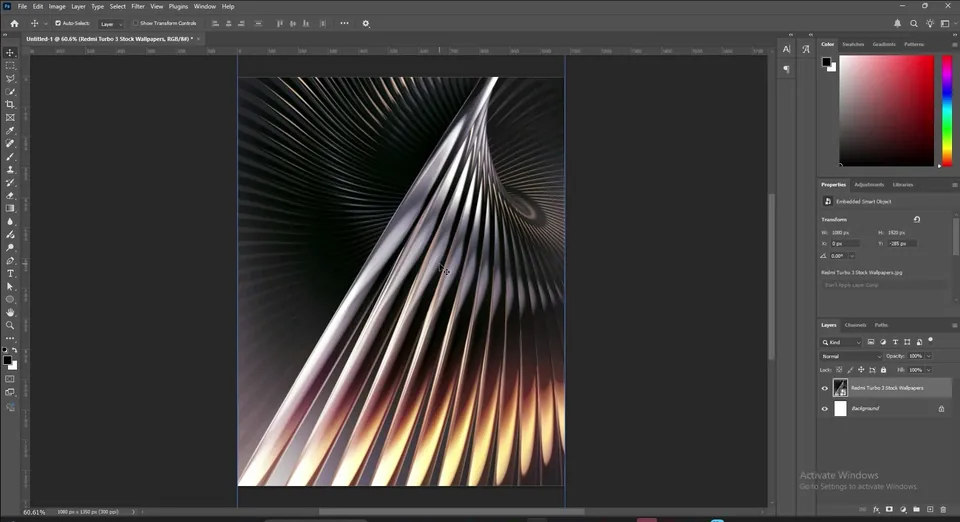

Select the bottom layer and add a Solid Color fill layer in black under the image. Move the image down a little so the brightest part sits low on the page.
Then go to View › Guides › New Guide Layout, tick Margin and set 100 px on every side. You can change these later. The point is to keep all your text inside a safe margin.


Drag the potter photo onto the canvas. You only need the hands, the pot and the wheel, so hide the other layers for a moment to see clearly.
Pick the Polygonal Lasso tool and click around the edge of the hands and pot. Move a short distance between clicks so you follow the shape closely. If you click in the wrong place, press Backspace to remove the last point. Double-click to close the selection.
Tip: If the selection drifts away from the edge, press Backspace a few times rather than starting again.


Invert the selection with Shift+Ctrl+I, right-click the layer and choose Rasterize Layer, then press Delete to remove everything outside the hands and pot. Right-click again and choose Convert to Smart Object so you can scale it without losing quality.
Turn your other layers back on, then add a layer mask to the potter. With a black Soft Round brush at about 30% flow, gently paint away hard edges at the bottom of the wheel so it melts into the background. Press Ctrl+T and scale the image up a little.
Tip: Converting back to a Smart Object after deleting means you can resize the hands later without losing quality.


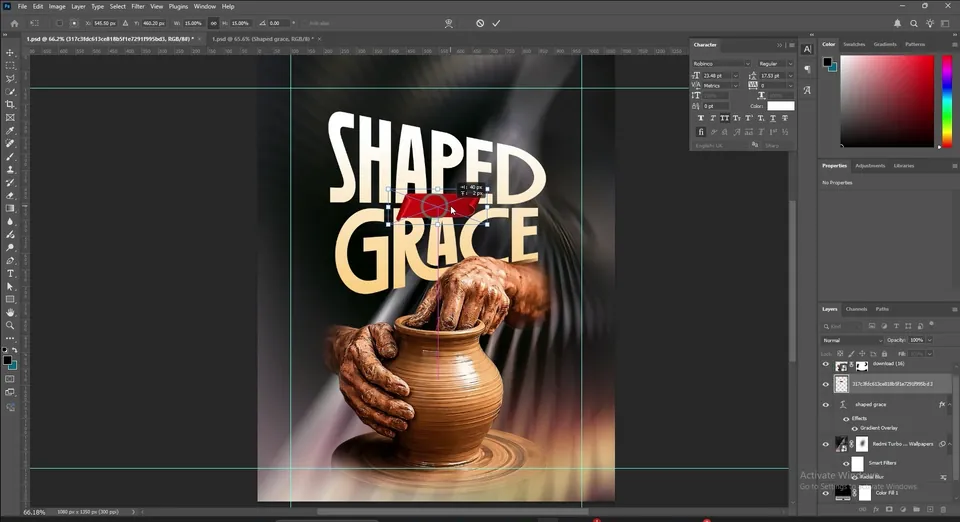
Select the type tool with T and type SHAPED and GRACE on two lines. Leave out "by his" for now, because it will sit on a ribbon between the two words.
Set the font to Robinco at about 75 pt in white, and tighten the leading (about 90 pt) so the two lines sit close together. Place the title in the upper half, above the pot.
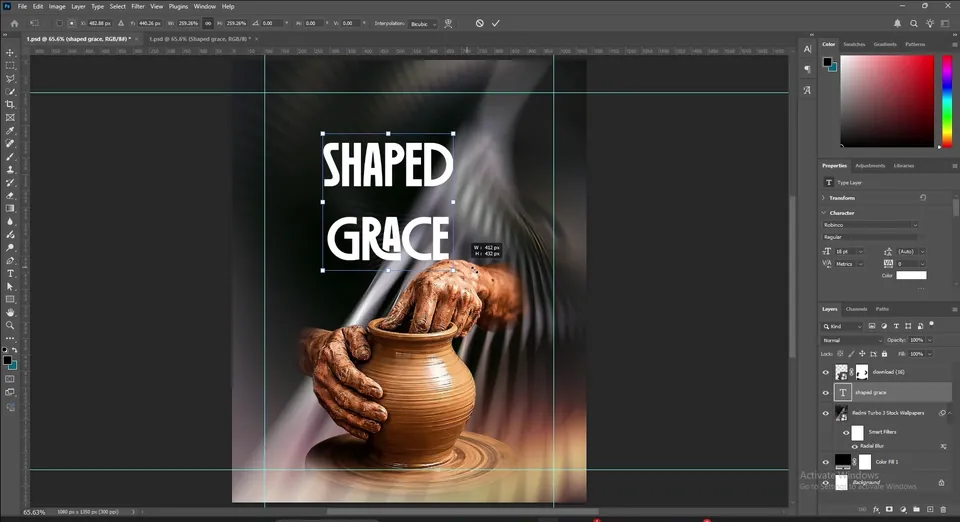

Zoom in and you will see grey streaks in the background working against the white letters. Select the background image and add a layer mask.
With a black soft brush at low flow, click two or three times in the middle, behind the title. The black base shows through and the title gains contrast.

Double-click the title layer to open Layer Style and choose Gradient Overlay. Set the Angle to 90°, Scale to 100% and the mode to Normal.
Edit the gradient: pick a warm cream or light tan for the bottom stop (sample it from the pot) and white for the top stop, moved to around 86%. The letters now glow from white at the top to warm clay at the bottom, matching the photo.


Right-click the type layer and choose Warp Text. Pick the Arc style, set Bend to 0, and move the Horizontal Distortion slider a little. The letters lean slightly, which gives the title energy without looking curved.
Move the title down a little so GRACE overlaps the top of the potter's hands.


Bring the red ribbon from the resource folder and place it between SHAPED and GRACE. Press Ctrl+T, right-click and choose Perspective, then drag a corner slightly so the ribbon follows the angle of the warped title.
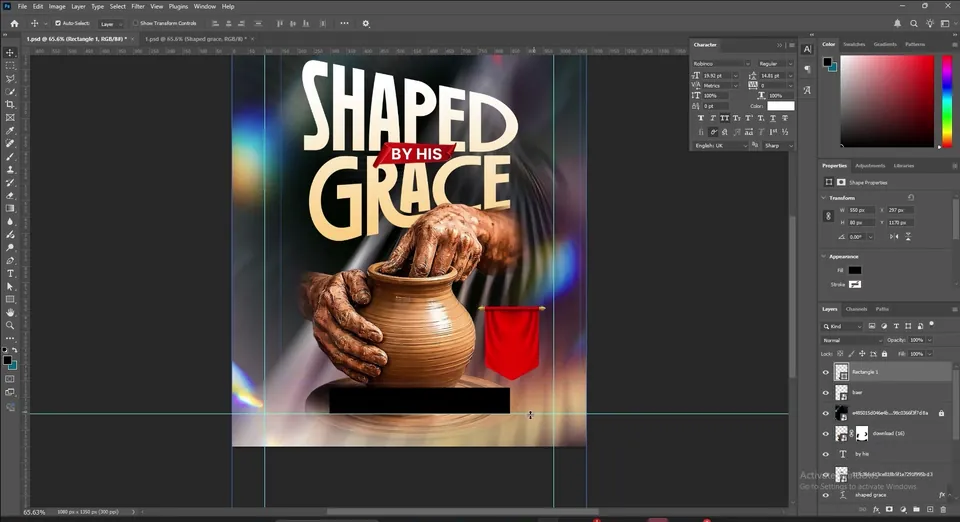
Type BY HIS on top in Inter Bold, white, and size it to fit inside the ribbon.

This part happens quickly in the video. Two more resources go in:
- The light leaks image, placed on top and set to Screen. Its rainbow streaks add colour to the edges of the flyer.
- The red hanging banner on the right side, beside the pot. This is where the date goes.
Tip: Light leaks look best on the edges of the flyer. Mask them away from faces, hands and the main title.

Draw a Rectangle at the bottom, inside the guides. This is where the location will go. In Window › Properties, click the fill and choose Gradient.
Set the angle to 0°, then click each colour stop and sample browns from the pot, dark on one side and lighter on the other. The bar now matches the clay colours of the photo.

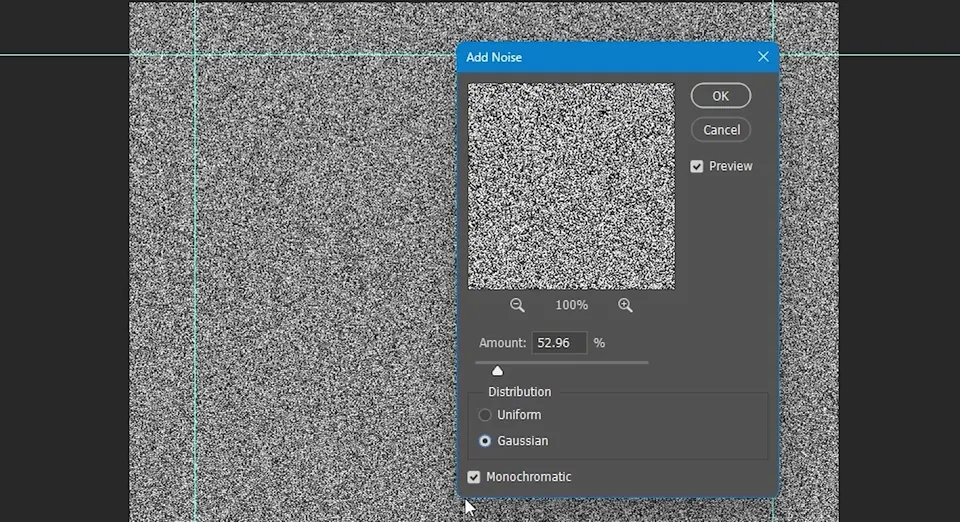
Select the top layer, then add a Solid Color adjustment set to H 0, S 0, B 50. Go to Filter › Noise › Add Noise (convert to a Smart Object if asked), set the amount to about 52%, choose Gaussian and tick Monochromatic.
Set the blend mode to Soft Light (or Hard Light, or Color Dodge) and lower the Fill until the grain is subtle.
Tip: If the noise feels too strong, lower the Fill rather than the Opacity. It reacts more gently in Soft Light.


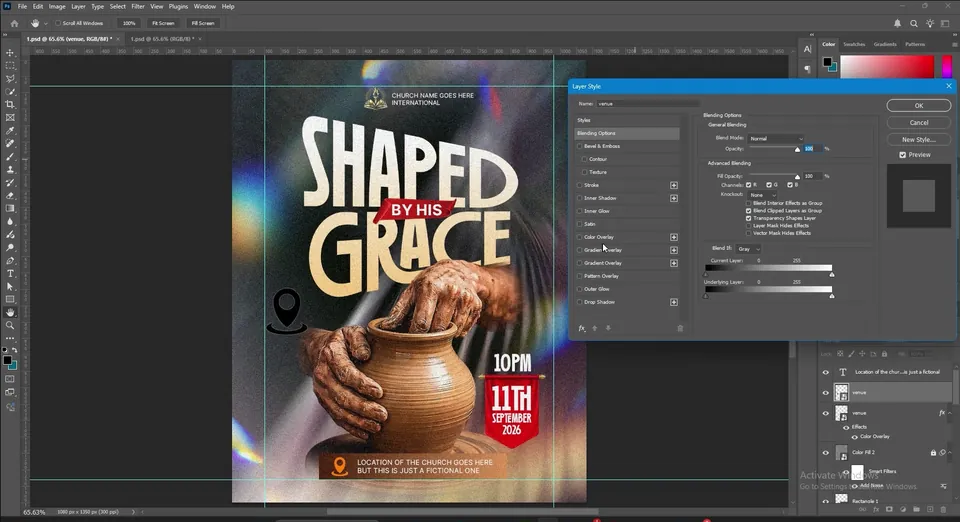
Write the time (10PM) above the red banner and the date (11TH SEPTEMBER 2026) on it. Put the location text on the footer bar, and the church logo and name at the top.
The location icon comes in black. To recolour it, open FX › Blending Options › Color Overlay and pick a colour, such as yellow or orange, that matches the footer.
Key takeaways
- One image plus Radial Blur (10, Spin, Best) on a black base is a fast, reliable church flyer background.
- Cut out with the Polygonal Lasso, delete the outside, then convert back to a Smart Object.
- Mask the background behind the title so white text keeps strong contrast.
- A cream-to-white Gradient Overlay and a small Arc warp make a plain font feel designed.
- Finish with a ribbon, a date banner, a gradient footer sampled from the photo, and subtle noise.