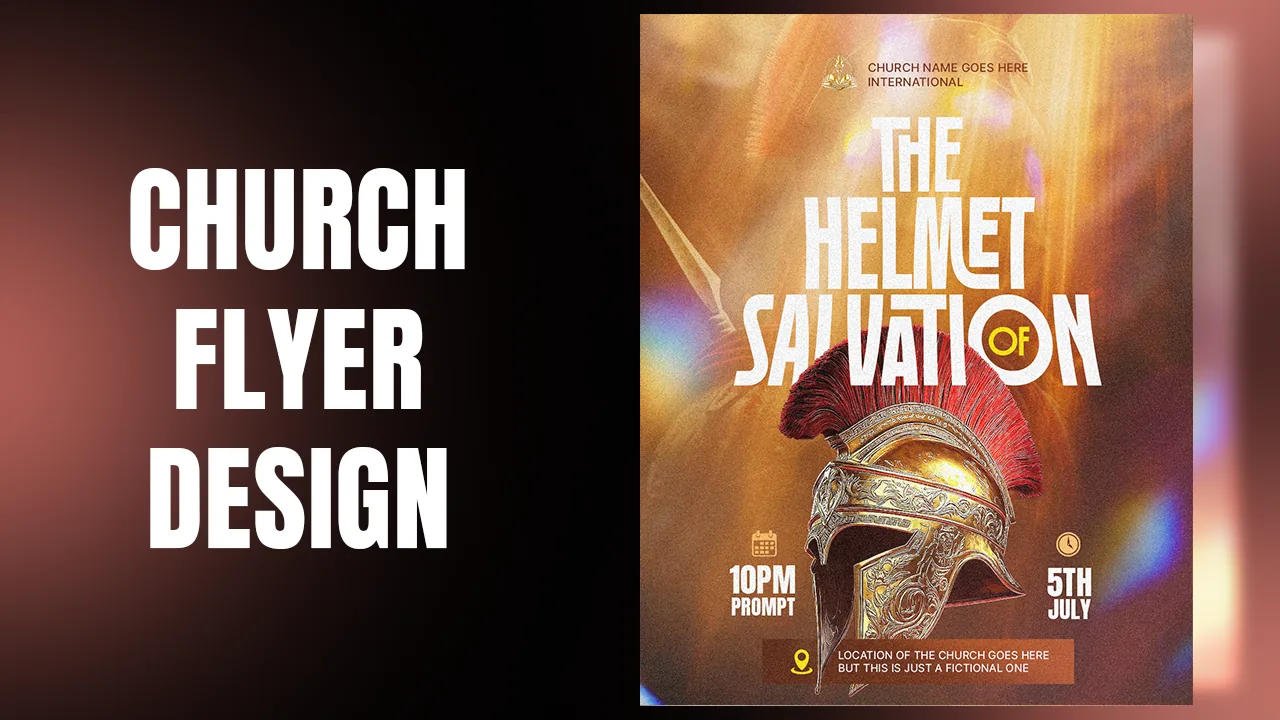
In this tutorial you will design a church flyer, "Return to the Path", in PhotoCraft, a free Photoshop-style editor. A man with a backpack and a suitcase walks down a cracked desert road towards a bright light, under a huge glowing title.
You will learn how to blend three photos into one scene with soft masks, paint a warm glow where the road meets the sky, darken the subject and add rim light with clipped Exposure adjustments, build a realistic shadow with Perspective and Puppet Warp, and style a bold title with a gradient and an inner glow. Each step links to the exact moment in the video, so press Watch at whenever you want to see it done.
What you will make

What you need
- PhotoCraft, free from the ArtCraft launcher
- The resource pack: the two road images, the sky, the traveller cut-out, the light rays and the logo
- The Moonlight font for the title and Moland for the small text
- About 25 minutes
Get the resource pack from our Telegram channel before you start.
Open PhotoCraft and choose New Document. Set the units to Pixels, the width to 1080 and the height to 1350 (the Instagram portrait size), then click Create.

Drag the first road image (the one with the dramatic sky) into PhotoCraft and click the check mark to place it. Then drag in the second road image, the bright road with the cracked asphalt, and move it down so the road lines up.
Click Add mask and press B for the brush. The default brush is hard, so right-click and pick Soft Round under General Brushes. Use [ and ] to change the size and make sure the foreground colour is black. Wipe away the top of the second image and its edges, but keep the white road lines of the first image lined up.
Tip: Keep the road lines of both images lined up before you start masking. It makes the blend much easier.


Drag in the sky image, with the teal sky and the plane trail, and add a mask. With a black brush at about 25% flow, wipe the bottom away so the road fades in under the sky.
Click the mask thumbnail to make sure you are painting on the mask. Switch to white if you need to bring back some of the clouds.


Create a new layer and set its blend mode to Linear Dodge. Double-click the foreground colour and enter 664200, a deep orange brown.
Make the brush big and brush once across the middle, where the sky and the road meet. If it feels strong, drop the flow from 25% to 10% and brush again. Toggle the layer to compare before and after.
Tip: Linear Dodge (Add) only brightens. Dark orange colours give a warm glow without turning white.

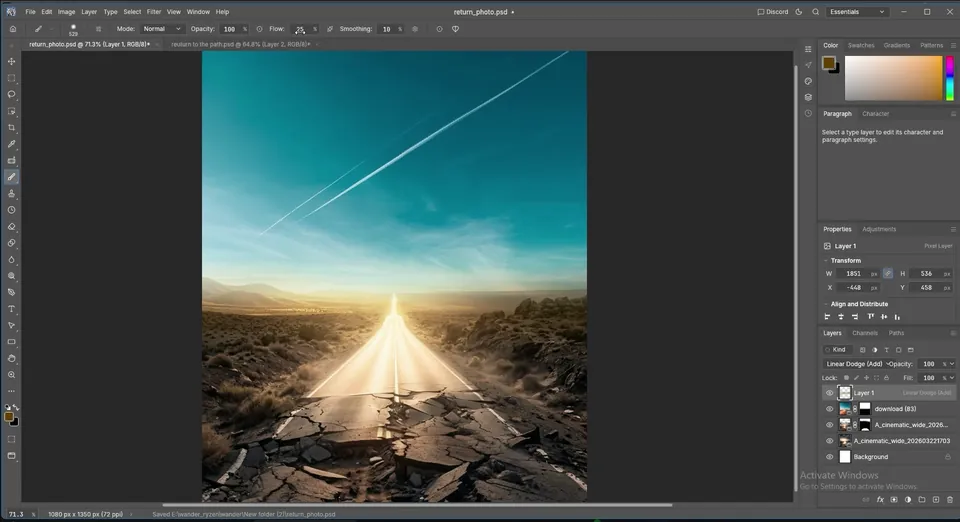
For a warmer light, keep the same layer and change the colour to a4803c, a golden tan. Set the flow to about 50% and click a few times across the middle: one bigger click in the centre, then smaller clicks on each side.

The resources have two versions of the man with the suitcase: one with the shadows and highlights already added, and the original. Use the original if you want to follow the lighting steps.
Drag him onto the canvas and scale him down. Keep the proportions while scaling, or he will look stretched. Place him on the road with his feet on the asphalt. In the resources he is already flipped to face the light.

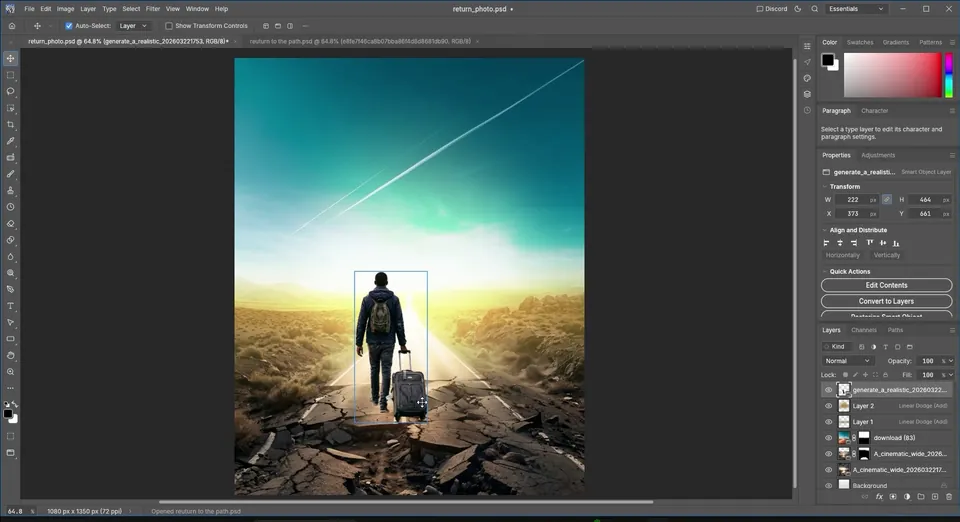
He is walking towards the sun, so his back should be in shadow. Add an Exposure adjustment, select its thumbnail and tick Clip to layer below so it only affects him.
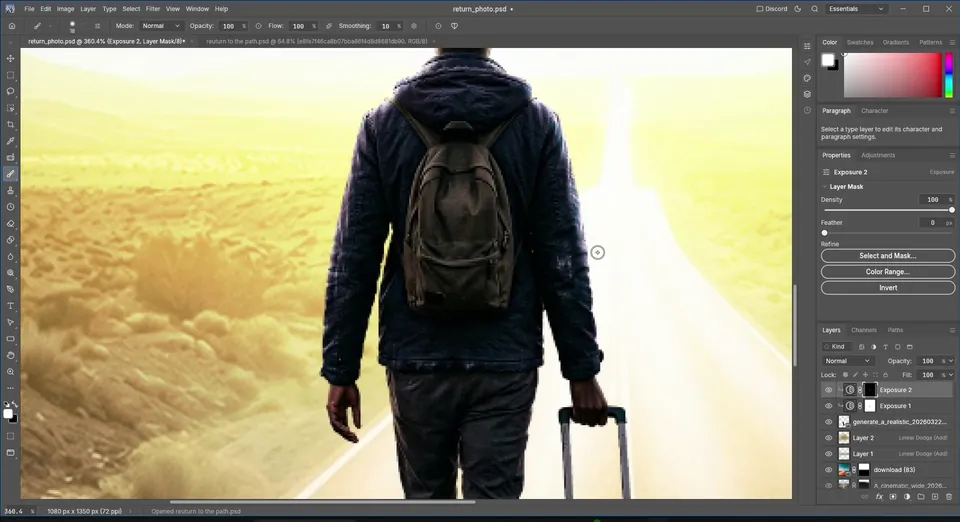
Drag the Exposure down to about −2 and leave the gamma at 1. If it is too dark, lower the adjustment's opacity to about 80%.
Tip: Clip to layer below is what keeps the adjustment on the man only. Without it the whole flyer would get darker.


Select the Exposure mask, take a black brush at 100% flow and opacity and paint along his edges. This removes the darkness from the outline, so it can catch the light.
Now add a second Exposure adjustment, clip it to the layer below and raise the exposure (about +3) with a gamma of about 1.85. Select its mask and press Ctrl+I to invert it to black. Then paint with white along the edges of his head, shoulders, arms and bag. The video speeds through this part: take your time and follow the outline where the sunlight would hit him.
Tip: Rim light sells the scene: a person walking into the sun always has a bright outline.

Select the traveller and press Ctrl+J to duplicate him. Select the lower copy and press Ctrl+T. Drag the top middle handle down past his feet while holding Shift, so the copy flips upside down below him.
Squash it to make it shorter, then right-click, choose Perspective and drag the bottom-left corner out. Move it so its feet touch his feet. If the perspective looks too strong, undo and try again.


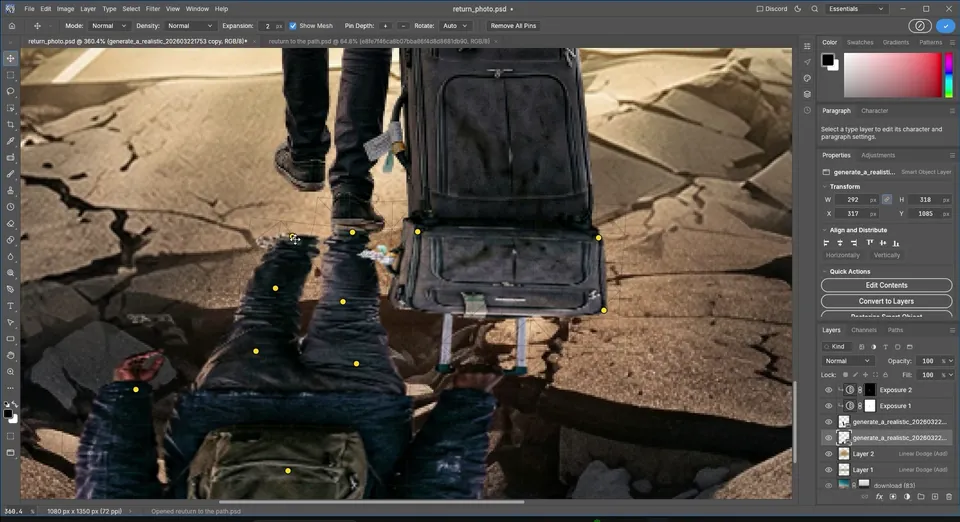
Go to Edit › Puppet Warp. Click to add pins: on the head, the shoulders, the bag, the arms and the legs. The image may jump a little when you add pins; that is normal in PhotoCraft.
Drag the pins to stretch the shadow so it lines up with his body, with the feet joined and the shadow reaching up the road. Do not worry about the suitcase shadow. Click the check mark to accept.
Tip: Add pins on the parts that should stay still first, then drag only the ones you need to move.
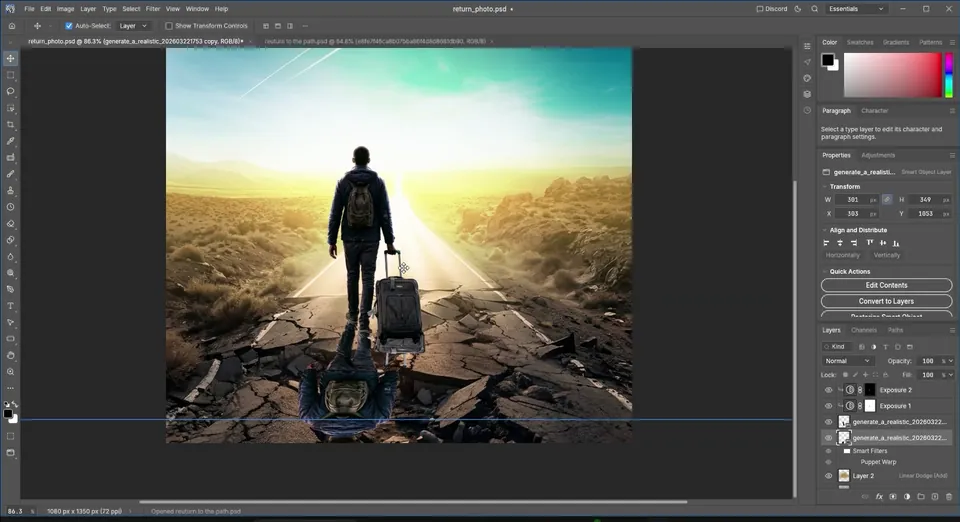
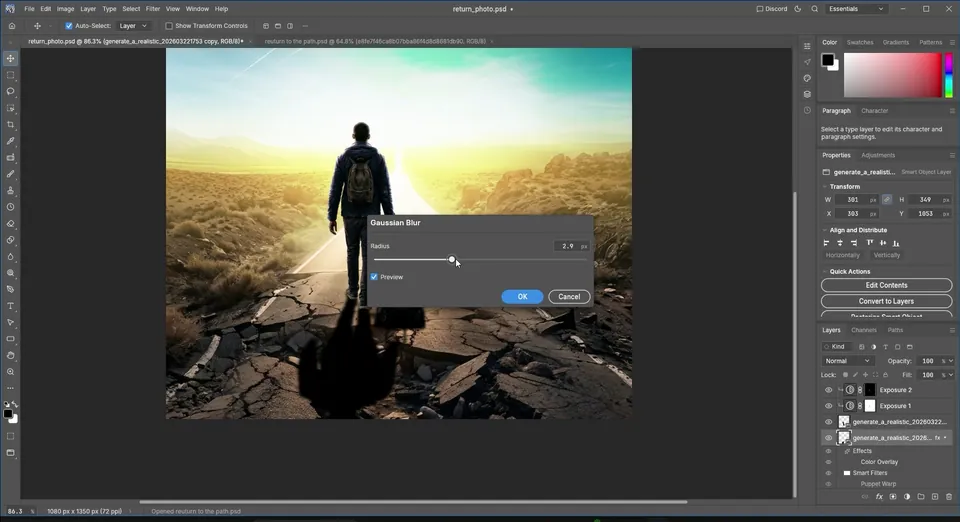
Open fx › Blending Options, tick Color Overlay and set it to black. Then go to Filter › Blur › Gaussian Blur and use about 2 px.
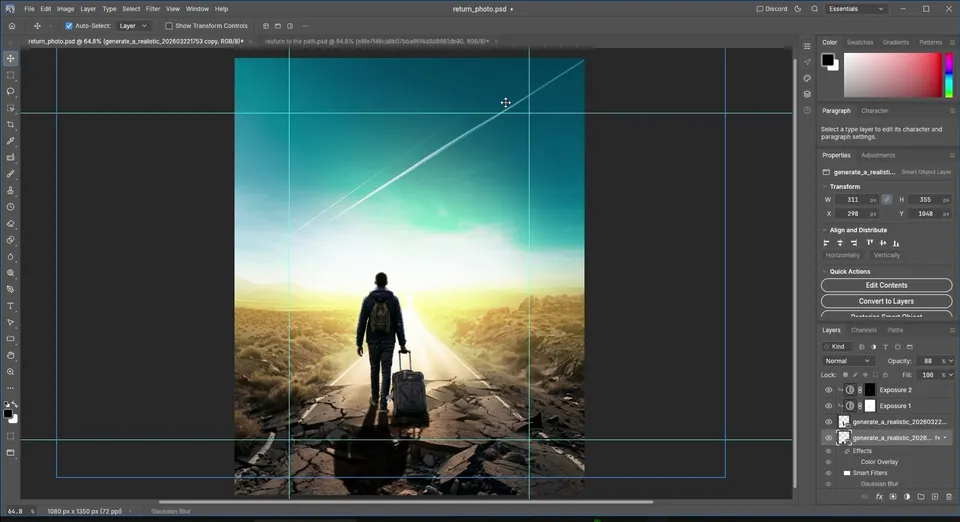
Lower the layer's opacity to about 80%. The shadow now falls naturally on the road towards the camera.

Go to View › New Guide Layout. Set everything to 0 except the Margin, which you set to 170 px, then click OK. You only need the left and right margins; you can move the top and bottom later to suit the layout.
Pick the Type tool, click and type RETURN. Open the Character panel from Window › Character and set the font to Moonlight.
Scale the text until it fills the space between the guides. In the video the size ends up at about 441 pt.

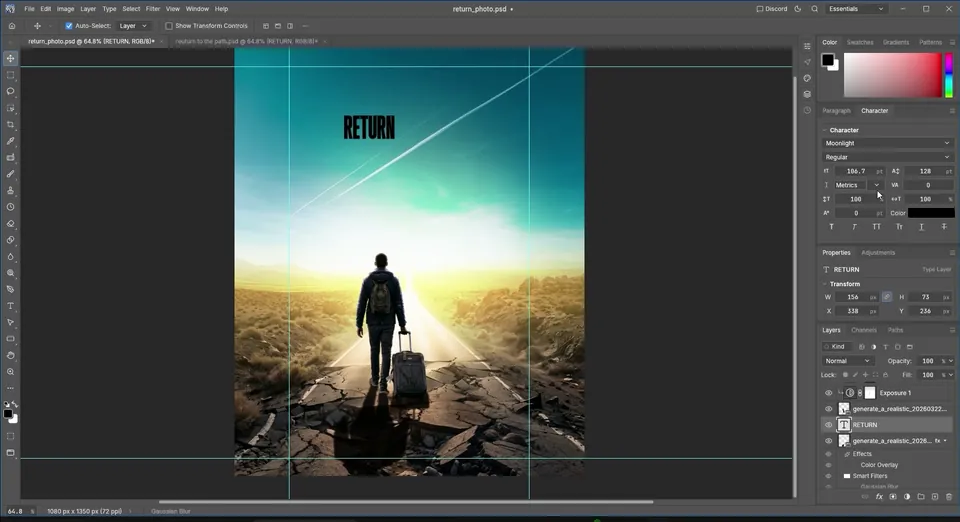
Open fx › Blending Options › Gradient Overlay. Keep the blend mode on Normal at 100%, the style on Linear and the Angle at 90°.
The default gradient goes from black to white. Keep the white and click the black stop, then change it to FFF0AB, a pale cream yellow. The title now glows from white to warm cream. Move it up a little.


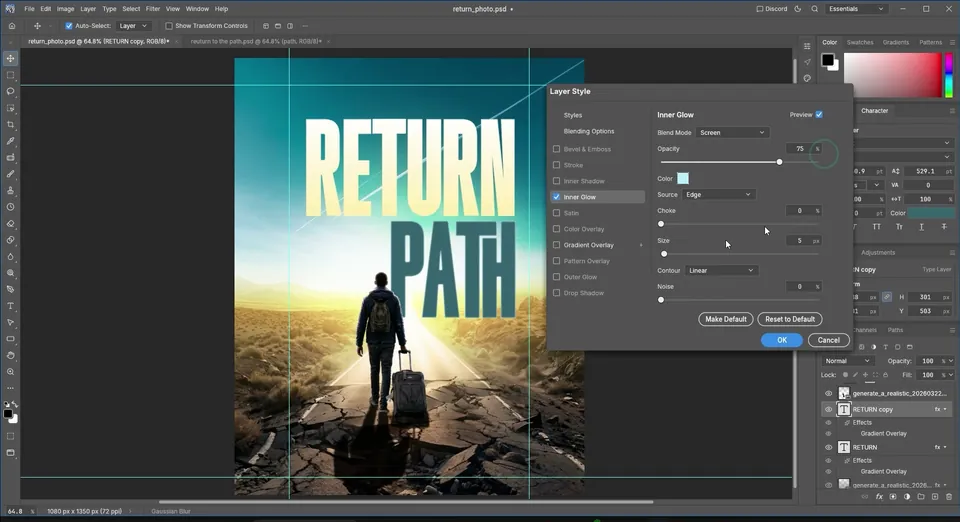
Duplicate the title, drag the copy down and type PATH. Line it up with the right edge of RETURN.
Change its colour to 366570, a dusty teal. Because the copy still has the Gradient Overlay, double-click the effect and untick it. Then tick Inner Glow, sample a light colour from the background, set a medium opacity and a size of about 15. PATH now glows softly from inside, like it is lit by the sky.

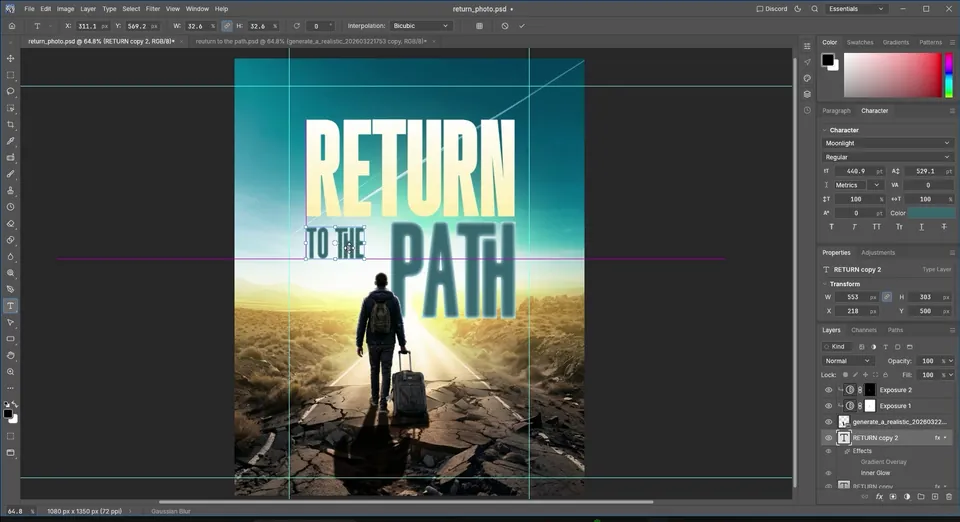
Duplicate PATH again, type TO THE and scale it down so it sits to the left of PATH. You can keep Moonlight or try Anton; they look very similar here.
The inner glow is too strong at this small size, so double-click it and lower the size to about 8.

Bring the light rays image from the resources onto the top of the layer stack and place it in the top left corner.
Set its blend mode to Screen. The black disappears and the rays shine down onto the title and the road.


Add the small text in Moland: the Bible verse ISAIAH 55:7 under TO THE, the date (SUN 19TH APR) on the left, the venue and contact details in the middle and the time (8PM GMT) on the right. Sample colours from the title so everything matches.
When you move small text that sits over other layers, lock the layer underneath so you do not move it by mistake. Finally, place the church logo and name at the top.
Tip: If a small text layer keeps selecting the layer under it, lock that layer in the Layers panel.


Key takeaways
- Blend several photos into one scene with masks and a soft round brush at low flow.
- A brush stroke on a Linear Dodge layer adds a warm glow where the land meets the sky.
- Clipped Exposure adjustments darken a subject and add rim light when he faces the sun.
- A flipped copy with Perspective, Puppet Warp, a black Color Overlay and a small blur makes a convincing shadow.
- A bold title with a cream Gradient Overlay and a teal Inner Glow looks lit by the scene behind it.