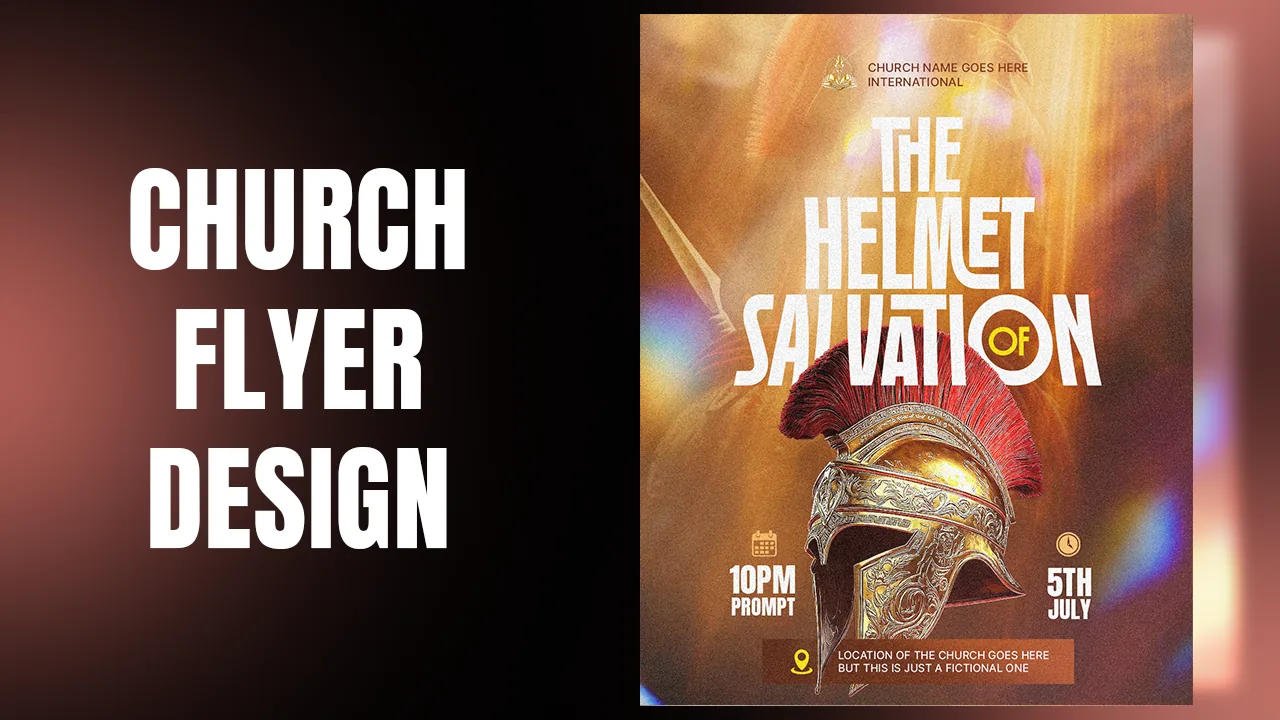
In this tutorial you will build a glowing chocolate drink advert in Affinity: a warm radial background, soft fog, a chocolate splash that wraps around the bottle, light and shadow painted with exposure adjustments, a blurred leaf, brownie pieces and light rays to finish. Everything happens in the Pixel persona, and nothing needs a paid plugin.
Each step below matches a moment in the video. If a step is unclear, press Watch at next to its title and the video above plays from that exact point.
What you will make

What you need
- Affinity (the free version from Canva works), with the Pixel persona
- The resource pack for this video: the bottle, the chocolate splash, the leaf, brownie pieces, the light rays and the fog brushes
- About 30 to 45 minutes
- A mouse is fine. A pen tablet makes the masking steps faster, but you do not need one.
Download the resources first, then extract the zip so you can find the brushes in step 4.
Create a new document and pick the Instagram post preset if you have it saved. If not, enter the size by hand:
- Document units: Pixels
- Page size: 1080 × 1350 px (a 4:5 portrait post)
- DPI: 300
- Color format: RGB/8, profile sRGB
Click Create. Affinity opens new documents in the Vector persona, so switch to the Pixel persona from the top-left of the toolbar. Every step in this tutorial happens in Pixel.

Add a new Fill Layer from the Layer menu, then choose the Gradient tool and set the type to Radial in the context toolbar.
The gradient has two color stops. Double-click each one to open the color chooser and paste these codes:
- Outer stop: #1E0900, an almost-black brown
- Center stop: #FF9963, a warm peach
The first result is a big, bright circle with a hard-looking edge. Zoom in, then drag the end handle of the gradient line inwards so the bright area is smaller and the edge melts into the dark brown.


Create a new Pixel layer and change its blend mode to Add. In Affinity it sits in the lighten group of the blend mode list, near Color Dodge and Linear Dodge.
Pick the Paint Brush, make it very large and set the color to #8B5630. Click once or twice in the middle of the canvas; do not drag. Each click stacks more light because of the Add blend mode.
Switch to the Move tool and scale the glow until it sits nicely in the center.
Tip: Add brightens everything underneath it, so a fairly dark brown turns into a hot orange glow. If it gets too bright, lower the layer opacity instead of repainting.


Open the Brushes panel. If you closed it, go to Window and turn on Brushes. In the new Affinity this is under Window, then Panels.
Click the menu icon at the top-right of the panel and choose Import Brushes…. Go to the folder where you extracted the resources and open the fog brush file, Free Fog Photoshop Brushes 18. Photoshop .abr brushes import into Affinity without any conversion.
Now open the category dropdown at the top of the Brushes panel (it usually says Acrylics or Basic) and choose the new fog category.


Create a new Pixel layer for the fog. This matters: in the video the first fog stroke landed on the glow layer by mistake and had to be undone. The fog needs its own layer.
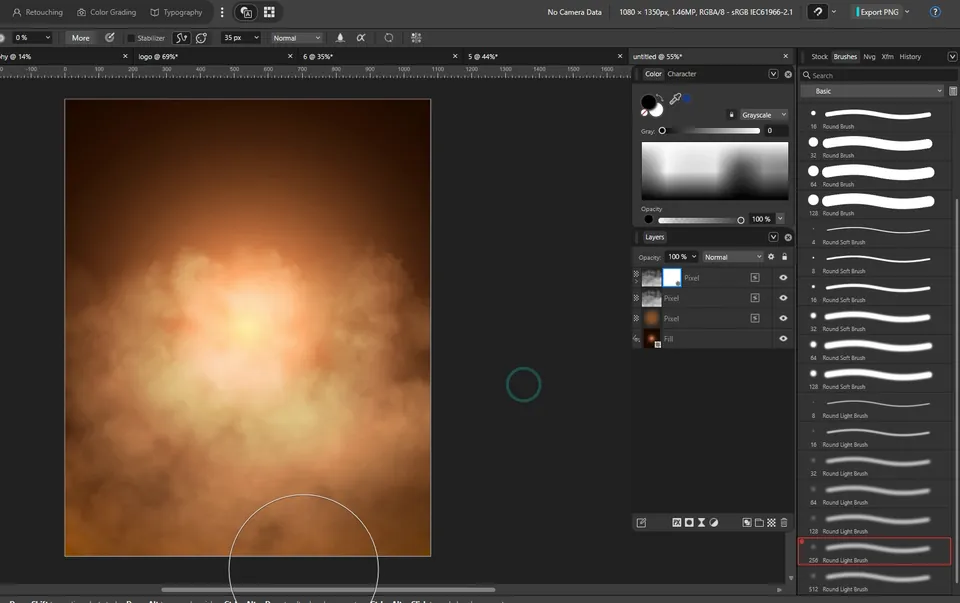
Choose a fog brush (the video uses the large brush numbered 108), set the color to white, and click to stamp the fog over the lower part of the canvas.
Change this layer's blend mode to Soft Light. Then duplicate it with Ctrl+J and set the copy to Overlay. Soft Light gives a gentle haze; Overlay adds contrast and warmth. Together they read as warm smoke instead of flat white paint.


The fog is too heavy at the very bottom. Select the fog layer and add a Layer Mask from the bottom of the Layers panel.
In the Brushes panel, switch back to the Basic category and choose a Round Light Brush at a size of about 256 px. Set the foreground color to black; on a mask, black hides pixels. Brush along the bottom to fade the fog away.
Tip: Painting with a heavy brush can lag in Affinity, which is why the video goes quiet during brush work. Large, slow strokes work better than many quick dabs.
Drag the bottle image from the resource folder onto the canvas. It comes in too big, so scale it down and rotate it to a dynamic angle.
Next, drag in the chocolate splash and scale it over the bottle. Before you continue, check two things:
- There is some space between the splash and the edges of the canvas.
- The splash covers the sides of the bottle, so it can wrap around it in the next step.


The goal is that some of the chocolate passes behind the bottle while the rest stays in front. With the splash layer on top, do this:
- Hold Ctrl and click the bottle layer's thumbnail. This makes a selection around the bottle.
- Select the splash layer again. If you add a mask now, the splash disappears everywhere except over the bottle. That is the opposite of what we want, so first invert the selection with Shift+Ctrl+I, just like in Photoshop.
- Add a Layer Mask to the splash. Now the splash is hidden over the bottle and visible everywhere else.
- Deselect with Ctrl+D.
Now bring back the parts of the splash that should stay in front. Take a brush, set the foreground to white, raise the flow to 100%, and paint on the mask where the chocolate wraps over the front of the bottle.
Tip: Zoom in and use a small brush near the edges. A big brush brings back chocolate you wanted hidden. If that happens, switch to black, hide it again, then return to white and repaint carefully.


The light in this design comes from the glow in the background, so the bottle needs brighter edges and deeper shadows. Exposure adjustments do both.
Highlights. Select the bottle layer and add an Exposure adjustment from the adjustments button at the bottom of the Layers panel. Raise it a little, not too much, and close the dialog. Drag the adjustment onto the bottle layer so it only affects the bottle. Select the adjustment, press Ctrl+I to invert its mask (now it hides everything), then paint with a white brush at full flow on the side of the bottle that faces the light.
Shadows. Add a second Exposure adjustment to the bottle, this time decreased. Invert its mask with Ctrl+I, lower the brush flow, and paint white where the bottle should fall into shadow.


Repeat the same idea on the splash. Add an Exposure adjustment, drop it onto the chocolate layer, invert the mask with Ctrl+I and paint in light where the glow would hit the chocolate. Then add a second, darker Exposure for the shadows.
This is also a good moment to fix any spots on the splash mask you missed in step 8. Select the splash mask, use a white brush, and bring those areas back.

Drag the leaf image in and place it in a corner. If it disappears into another layer when you drop it, it was clipped by accident. Undo, select the top-most layer first, then bring the leaf in again.
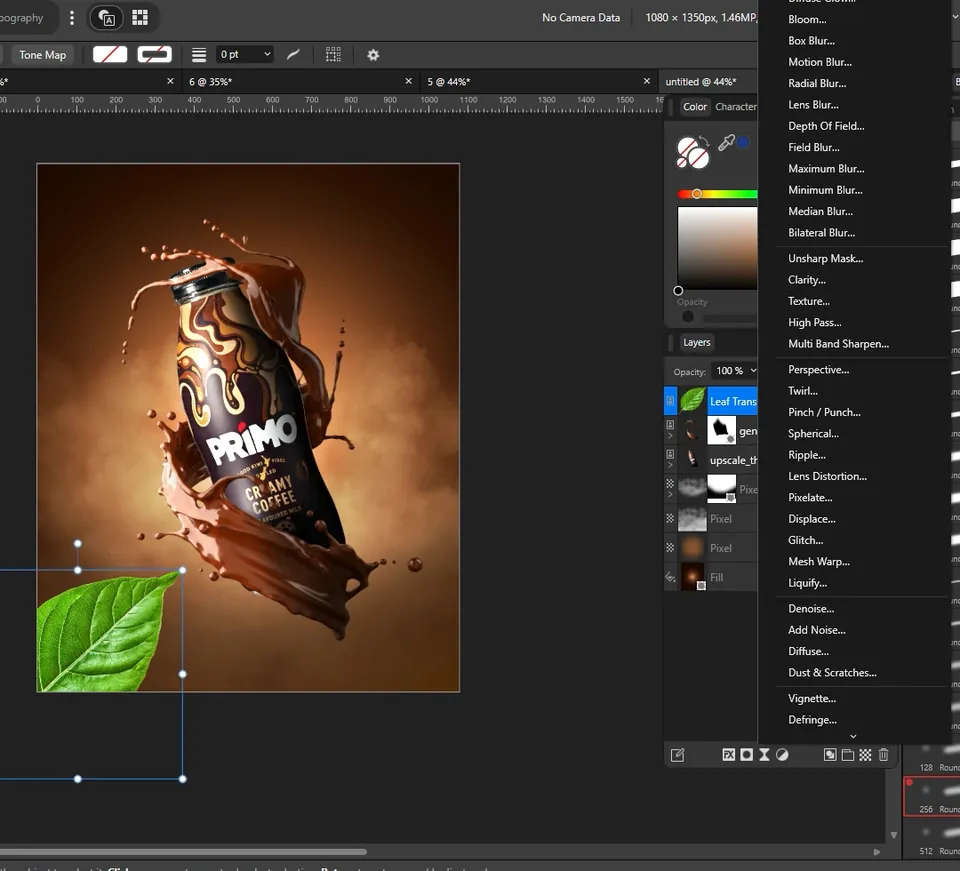
Blur the leaf so it feels close to the camera: go to the Filters menu, then Blur, then Gaussian Blur.
Finally add an Exposure adjustment, decrease it, and drop it onto the leaf. This time do not invert the mask. Paint with a black brush, flow raised a little, to keep the darkening off the parts of the leaf that face the light.

Next to the brown and orange, the leaf and the chocolate can look a bit too green. Add a Color Balance adjustment. It is in the adjustments list at the bottom of the Layers panel, not in the Filters menu. Push it towards red:
- Tonal range: Midtones
- Cyan / Red: +73%
- Magenta / Green: 0%
- Yellow / Blue: −27%
Toggle the adjustment off and on to compare. The change is subtle, but everything now sits in the same warm light. Close the group and duplicate the leaf with Ctrl+J for a second one at the top.

Bring in the brownie pieces from the resource pack and place them around the splash. Treat each one like the bottle: add an Exposure adjustment, invert the mask and paint in some light so they match the scene.
You can duplicate a piece several times. Rotate and resize each copy so they do not look identical. In the video, a copy of the chocolate splash is also moved and rotated to fill the space, and a few very small brownie crumbs are scattered beside the bottle. Small crumbs make the scene feel like it was frozen mid-explosion.
For pieces that should feel like they are flying, add Motion Blur from the Filters menu. Keep the radius small; a little blur is enough to suggest movement.
Tip: If you cannot select a layer because another one keeps getting in the way, lock the layer you are not working on.


Drag the light-ray image into the top-left corner. Right-click it and choose Transform, then Flip Horizontal, so the rays point towards the bottle.
Change its blend mode to Add. The black of the image disappears and only the rays remain.
Deselect and look closely at the edges: you may see a hard line where the image ends. Add a layer mask and brush those edges away with a soft black brush.


Key takeaways
- Build the mood first: a radial gradient plus a glow on an Add layer gives you the light source the whole design follows.
- Give every effect its own layer, and use blend modes (Soft Light, Overlay, Add) instead of painting colors directly.
- A selection from the bottle, inverted with Shift+Ctrl+I, gives you the mask that lets the splash wrap around the bottle.
- Paint light and shadow with Exposure adjustments behind inverted masks (Ctrl+I), so you can change them later.
- A finishing Color Balance pass pulls every element into the same color temperature.